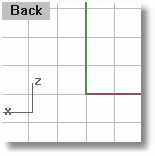
![]() Back
Back
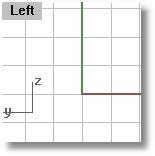
![]() Left
Left
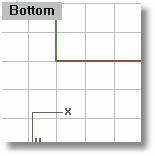
![]() Bottom
Bottom
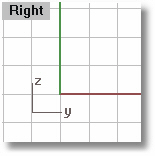
![]() Right
Right
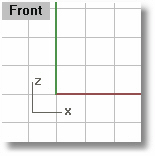
![]() Front
Front
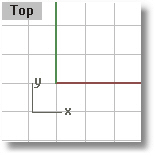
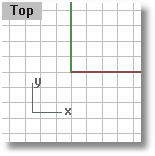
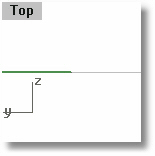
![]() Top
Top
Changes the view to a standard view (top, bottom, left, right, front, back, or perspective) of the current construction plane or the world coordinate system.
Steps:
Click an option.
Options
Sets the active view (camera, target, etc.) to a plan view based on one of Rhino's pre-defined construction planes (Back, Bottom, Front, Left, Right, and Top). The view's projection is not modified, and this option does not update the view's construction plane. Since there is no definition for a Perspective construction plane, there is no Perspective option.
|
|
|
|
|
|
|
|
|
Sets the active view (camera, target, etc.) to one of Rhino's pre-defined view orientations (Back, Bottom, Front, Left, Right, Top, and Perspective). Also, the view's projection is modified to match the pre-defined view orientation.
In addition to setting the view orientation, the World options also modify the active view's construction plane, setting it to the corresponding, pre-defined construction plane. The exception to this is the Perspective option, which sets only the view orientation and projection to Rhino's pre-defined Perspective view and does not modify the view's construction plane.
|
|
|
|
|
|
|
|
|
|
|
|
|
Set View
View > Set View Viewport Title > Set View |
Manages the named views list to save, restore, and edit named views.
Steps:
Click an option.
Options
Save
Save a named view.
Restore
Restore a named view.
Delete
Delete a named view.
Rename
Rename a named view.
Import
Import named views from a 3DM file.
Restore Background Bitmap
Restores the background bitmap when the view is restored.
|
Set View > Edit Named Views
View > Set View > Named Views Viewport Title > Set View > Named Views |
Sets the active view aligned to the negative z-direction of construction plane at 0,0, and sets the viewport projection to parallel.
Note: This command also sets the viewport projection to parallel.
|
Set View > Plan View of CPlane
View > Set View > Plan Viewport Title > Set View > Plan |
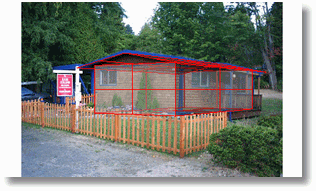
Manually matches the perspective view to the image used as the viewport wallpaper.
Steps:
Use Wallpaper ( ViewportProperties) to place an image in a perspective viewport.
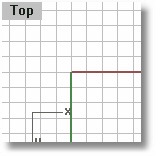
Click in the viewport with the wallpaper image (to make it the active viewport), and type PerspectiveMatch.
Carefully pick a location on the wallpaper image, and then carefully pick the corresponding 3-D location on the model.
Pick pairs of image and 3-D points until you have at least six pairs.
Press Enter when you have picked at least six pairs of points
Notes
The image must be a true perspective image. Photos taken with lenses that remove perspective distortion will not work.
The center of the image must be on the camera's viewing axis. In particular, an image or photo that has had non-symmetric cropping will not work because the center of the resulting image is not the same as the center of the original image.
Pick carefully. Accurate picking is rewarded with accurate results.
Make the image view large. This aids in accurate image location picking.
If possible, pick point pairs where an end or point snap can be used to select the 3-D point. This aids in accurate 3-D point picking.
Pick locations that are spread out in all dimensions.
|
Set View > Match Perspective Projection
View > Set Camera > Match Wallpaper Image Viewport Title > Set Camera > Match Wallpaper Image |
Reverses recent view changes.
|
Standard > Undo View Change View > Undo View Change
View > Undo View Change
Keyboard Shortcut: Home |
Steps back through view changes activated by the UndoView command.
|
Standard > Redo View Change (Right click) View > Redo View Change (Right click)
View > Redo View Change
Keyboard Shortcut: End |
Sets the view match a spotlight direction.
Changes the current view so that the camera position matches the spotlight source location and the camera target matches the light target point (center of base of the cone). The camera angle matches the light cone angle. This can verify a light's view as an analysis aid in setting up a scene.
Steps:
Select a spotlight.
|
Light Tools > Set view to spotlight
Render > Set View to SpotLight |
Exchanges the views in two viewports with one another.
Steps:
To swap views of two viewports
Click in the other viewport to swap.
|
None
None |
Sets the scale and center of all viewports to match the active viewport. This gives the same result as using the Options dialog box, Linked Viewport option.
Notes
The SynchronizeViews command works best when the "active" viewport is a plan orthographic viewport that displays what you want to look at.
When there is only one viewport or a viewport is maximized, the SynchronizeViews command does nothing.
The SynchronizeViews command has no effect on perspective views.
|
Viewport Layout > Synchronize Views
View > Set Camera > Synchronize Views Viewport Title > Set Camera > Synchronize Views |